
Is React Native a good choice for developing consumer or business mobile app?
Are you confused if React Native is a good choice for your business? This article dives into the details and helps you in taking a conclusive decision.
Are you confused if React Native is a good choice for your business? This article dives into the details and helps you in taking a conclusive decision.
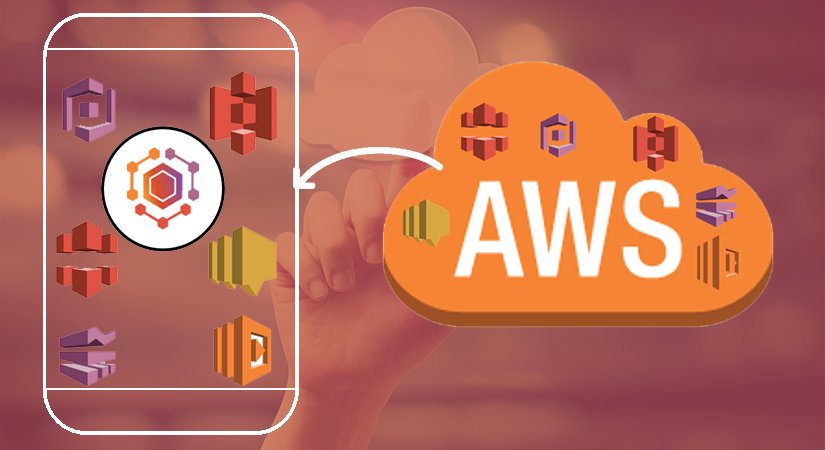
Do you want to access your AWS console on mobile? This article will help you to build AWS mobile app using AWS mobile SDK to access AWS resources.
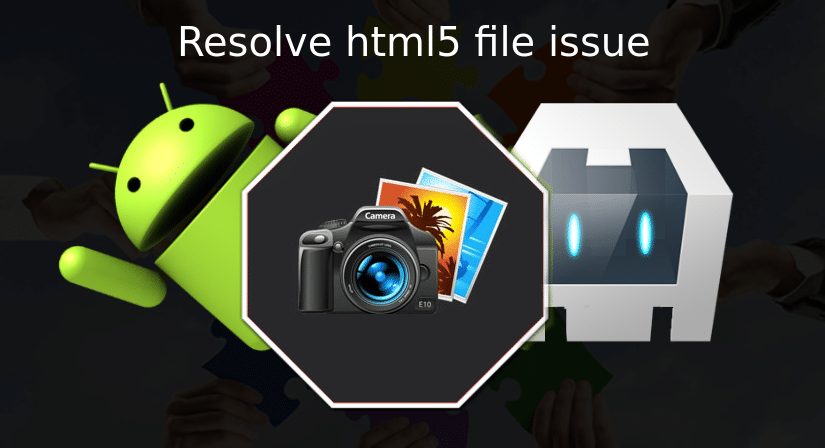
Is html5 file input not working on your PhoneGap android app? Here is the complete guide to fix html5 file input issue in Cordova android app.
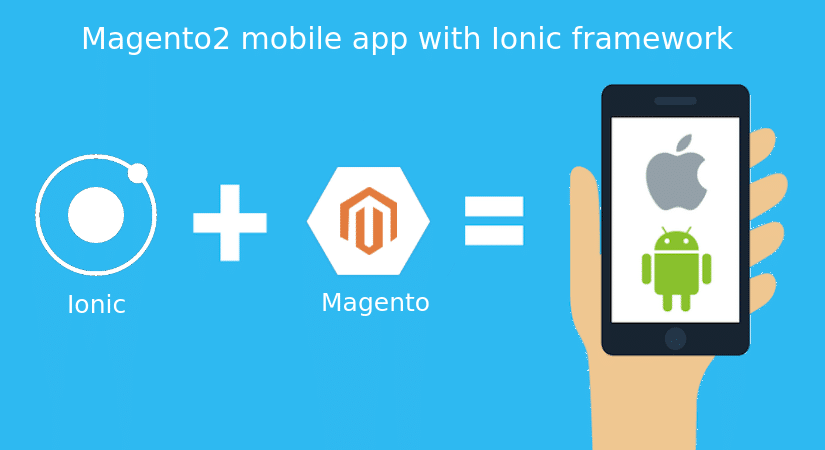
These days, the ways of developing an app have changed, as a result, it provides useful and user-centric apps to businesses and organizations for improving their business presence through a mobile app. These all changes are possible due to the presence of various cutting-edge tools, platforms, and frameworks. These all things have brought ease and …
Tips to build magento2 mobile app using ionic framework Read More »
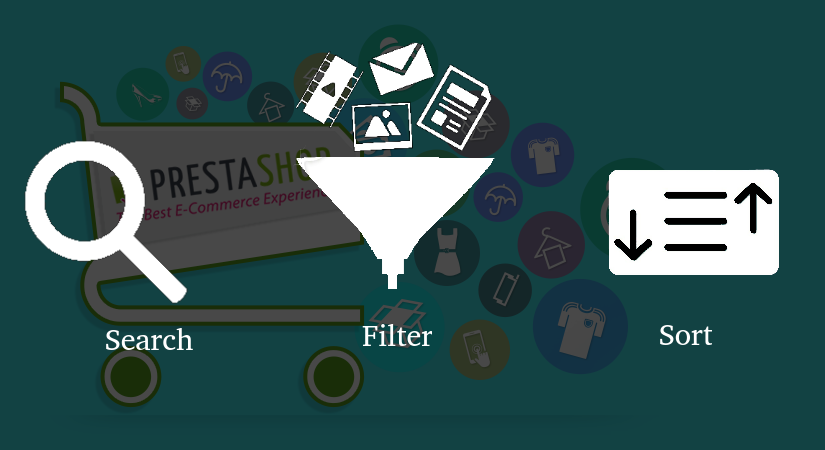
This article will help you to understand the basic details of Prestashop REST API for searching, sorting and filtering of the products for e-commerce app.
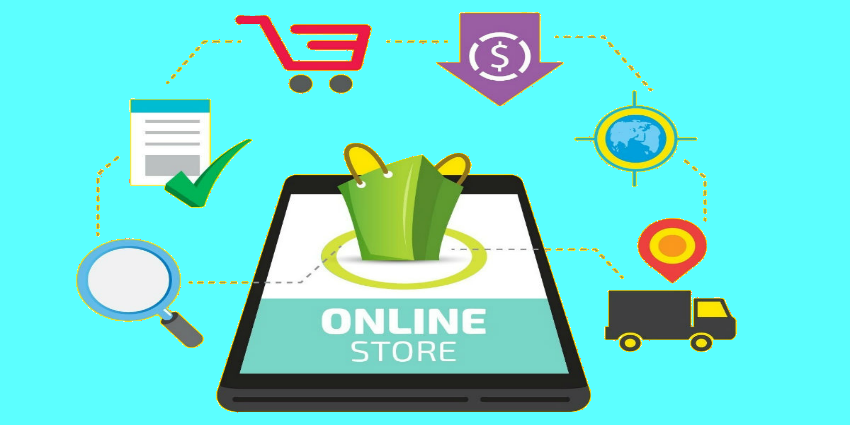
Building a native app for eCommerce app is an intelligent choice for the retailer because it is to observe that mobile- commerce is increasing day by day. This article lists the important attributes needed to build an e-commerce app for any store.

Prestashop is taking place in the market very rapidly because it is easier to install and has lower system requirements. So , to develop an app for your e-store based on Prestashop can help you acquire a good place in the market. To access Prestashop Webservices is quite complicated as it provides more security to its user. This article will guide how to do it.
Prestashop is based on open source platform. Prestashop is a strong, extendable plugin that helps you sell anything efficiently. Here is the list of features which explain the key features of Prestashop and reasons why you should invest in Prestashop mobile app.
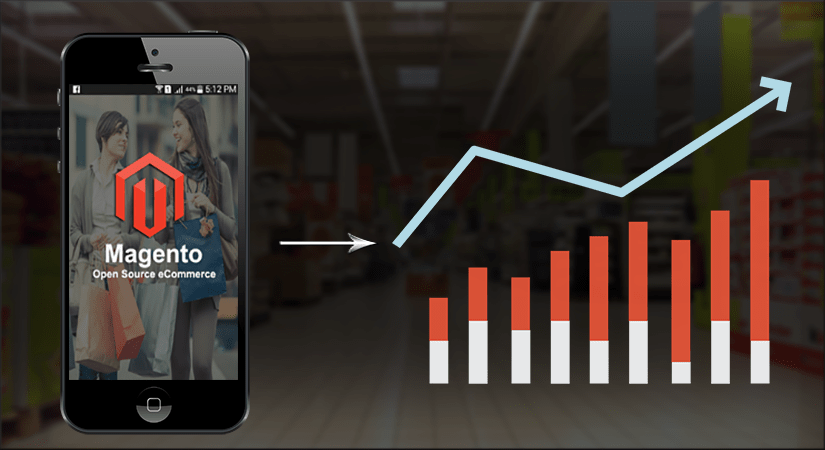
Technology has afforded many individuals the opportunity of owning a mobile phone. As this trend increases, the way people shop online- the means of accessing eCommerce stores- has also increased. In order to benefit from this change, you need the Magento mobile app to reduce your stress and increase your sales by at least 50%.
Magento is the most flexible full-featured e-commerce software available to all types of businesses. Magento is fully scalable to grow and change as your business does. Whether you need basic e-commerce features for your online store or advanced options to accommodate growth, Magento has a solution for your business.

Are you wondering how to bring more user to your e-commerce store? The e-commerce mobile app will be one of the most important solutions for your problem.
Woo-commerce is based on open source platform. Woo-commerce is a strong, extendable plugin that helps you sell anything efficiently. Woo-commerce integrates seamlessly with WordPress. Here is the list of features which explain the key features of Woo-commerce and reasons why you should invest in Woo-commerce mobile app.