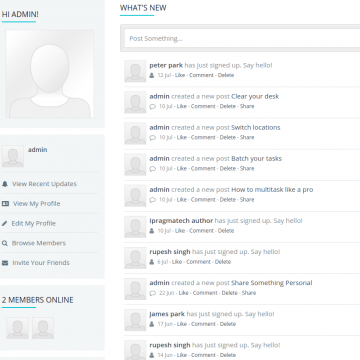
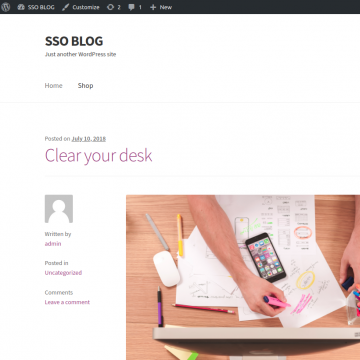
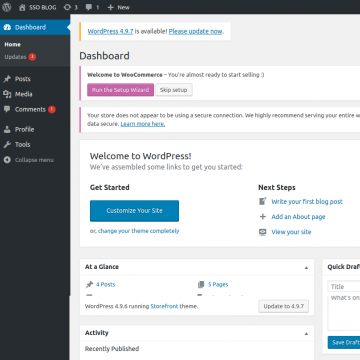
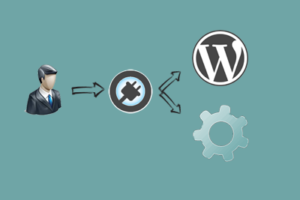
Socialengine WordPress plugin allows users to automatically sign in/sign up on your wordpress using Single Sign-On (SSO) techniques. This involves authentication into wordpress services for the user who already logged in into your socialengine website.
If you are using WordPress to publish your blog, you can create a single sign-on connection with your WordPress. People registered on your SocialEngine community will be able to sign in automatically as a member into WordPress without having to go through a separate registration process. SocialEngine Press Single Sign On Plugin for WordPress makes it easy to integrate your SocialEngine Community and your WordPress website.
Plugin Features
- Provide easy-access to multiple accounts
- Reduce frustration of multiple log-in
- Reducing time spent re-entering passwords for the same identity
- Increase the security
- Reduces the chance of forgetting your password
- User Account Management
Installation
Basic Requirements For SSO
1. SocialEngine SSo Plugin Installation
Plugin installation will function very similarly to the SocialEngine upgrade process.
- Log into your SocialEngine 4 site and access the Admin area.
- Access the Manage menu and click on Packages & Plugins.
- Click on the Install New Packages link, then click on the Add Packages link.
- Select the modules-ipwpauth-xxx.tar file where you extracted the downloaded zip package.
- Follow the step-by-step wizard to complete the installation of the plugin files.
- Go to Plugins menu.
- Click on SocialPress Settings and enter your wordpress site url.
2. Create WordPress directory
- Your socialengine and wordpress should be on the same server and wordpress should be installed in a sub-directory.
- In Your Php.ini file of server output buffering should be on.(output_buffering = on). Or you can create a new php.ini file in the root directory of wordpress and add code there.
- In sub-directory install WordPress.
3. WordPress Socialpress plugin installation steps below
- Visit ‘Plugins > Add New > Upload Plugin’.
- upload the socialpress.zip.
- Activate socialpress from your Plugins page.
- Visit Settings > Socialpress Settings.
- Copy your Socialengine site url and paste into SocialEngine Site Url text field.
- Click on the Sync Menus button to sync the menus from socialengine to wordpress.
- Visit Appearance > Menus > Manage Locations.
- Set “Se-Menu” where you want to set it.
